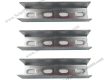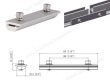

Solar mounting rail splice can fix multiple lengths of support rails during installation. It makes it easier and more economical to transport rails for freight companies and installation companies. Install rail splice to allow the expansion and contraction of aluminum rails in longer installations.
Quickly splice rail parts with tools and fasteners. The low-cost rail-based photovoltaic module installation system provides easy installation and simple connections. The shorter rail length makes transportation, transportation, inventory and handling easier. The internal splicing design of the guide rail is very unique, and shorter guide rails can be used economically. Low-cost connectors can be installed without tools and will not interfere with module clips or roof mounts.
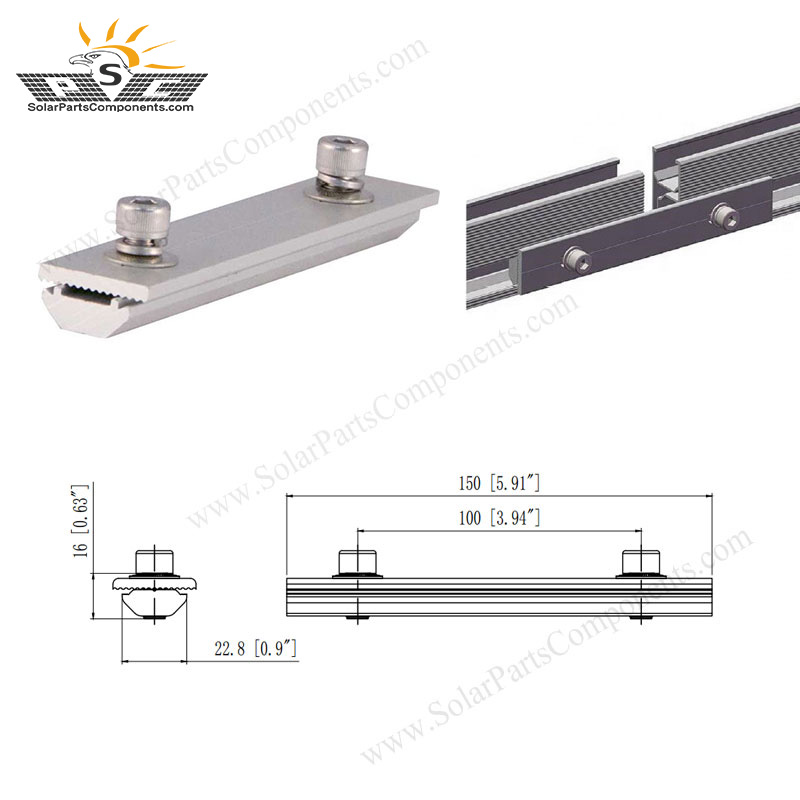
Rail installation is simple and easy. There is no need any drilling, the parts can be fully assembled and ready to be installed on the roof. Just put the aluminum rail splice for solar mounts into the T-slot of the guide rail and tighten the bolts.
Feature:
1. Embedded fixed installation components;
2. Quick splicing and bonding of guide rails with tools;
3. Convenient transportation and save freight;
4. Strong compatibility with the rail;
5. The material is anodized aluminum, anti-corrosion and anti-rust;
The solar rail splice kit for aluminum rail is installed inside the guide rail, which can realize seamless connection and prevent any other installation hardware interference. Rail splice is made of aluminum alloy. The solar panel mounting rail splice is a universal and conforming part of the installation system, used to connect the rails.
The rail splice provides a component for connecting two solar panel rails. The assembly provides a novel and improved inner rail used as a connecting piece, which slides in two solar panel rails and includes serrated washers pre-installed in the joint to fix the solar panel rail rails.
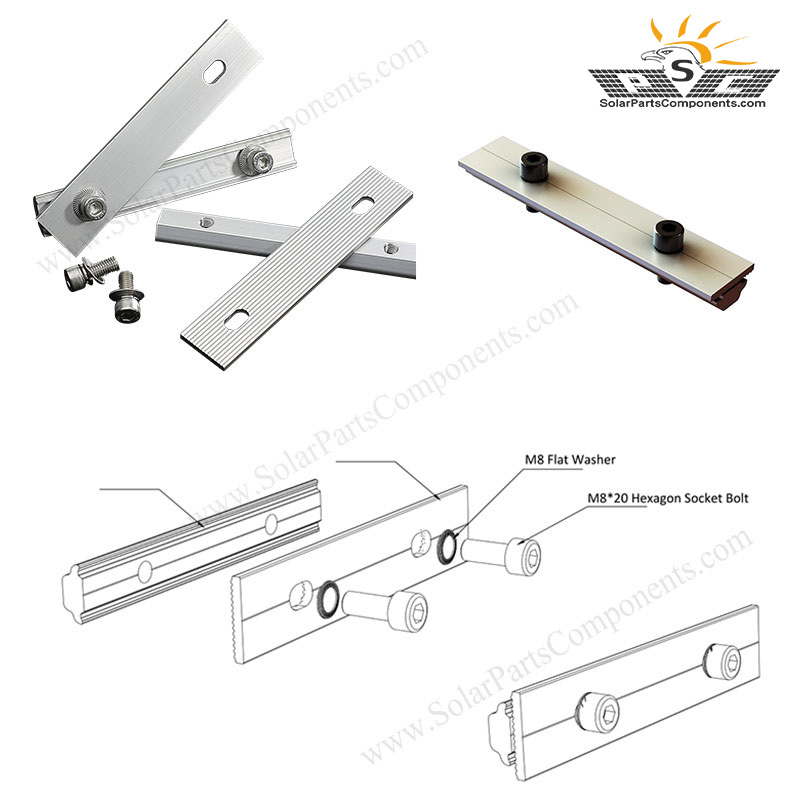
Parts and Components for aluminum Solar panel rail splice:
Rail splice bars, 2pcs;
Allen bolt M8× 20 mm, 2pcs;
Serrated washers M8, 2pcs
T sliding nuts, 2pcs;
Custom‑shape splices are available according to your solar rail section profile.
Welcome to buy solar panel rail splices for installing longer lengths of racking rails.
Step‑by‑Step Installation for SPC‑DR‑SP Solar panel rail splice
1. Prepare two cut‑to‑length aluminum rails, deburr rail end cuts (sharp burrs will scratch splice ).
2. Slide T‑sliding nuts into T‑slot channel of both rails.
3. Insert two splice into inner cavity of two rail ends. Align mounting holes of splice with rail holes.
4. Fit serrated washer onto M8×20 Allen bolt, pass bolt through rail hole, splice and T‑nut.
5. Hand‑tighten all bolts first, align two rails perfectly, no offset or step difference between rail top surfaces.
6. Torque all bolts to 12‑14 N·m using torque wrench.
7. Visually double‑check rail alignment and bolt tightness before mounting PV modules.
Important Pre‑installation Check:
Confirm your rail profile matches SPC‑DR‑SP splice dimension before bulk installation.