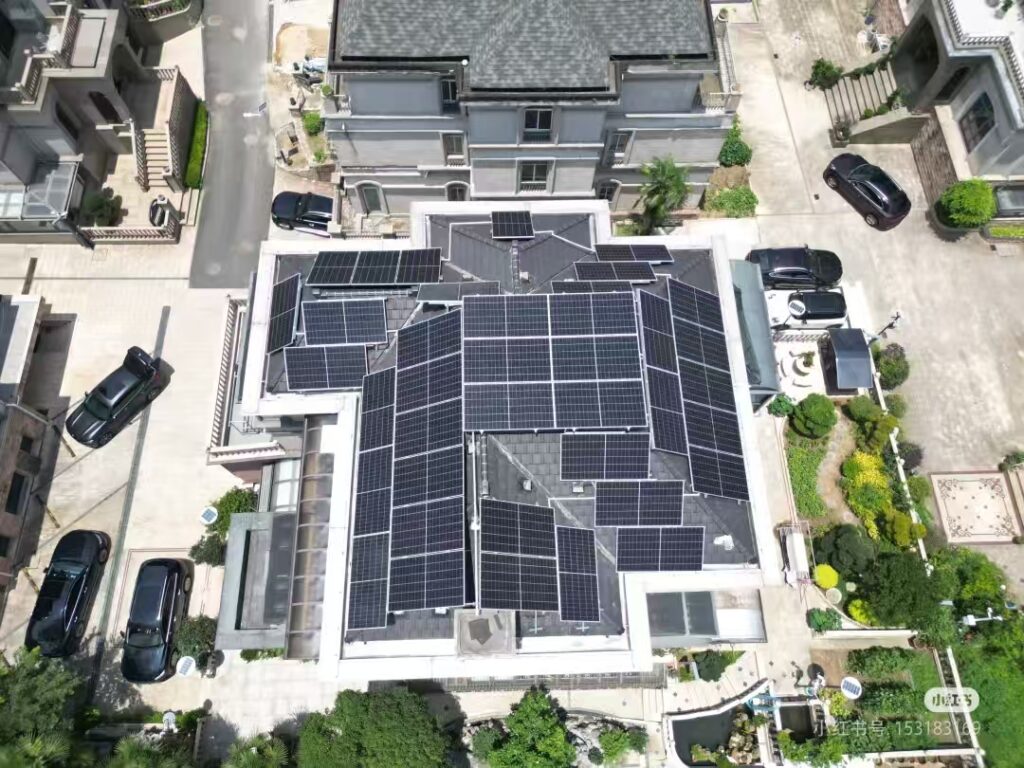
Power Up: A Step-by-Step Guide to Hooking Up Solar Panels (Safely!)
Harnessing the sun’s energy with solar panels offers exciting benefits like energy independence and sustainability. Crucially, while a qualified professional must handle all electrical connections for safety and compliance, understanding the process empowers you as a homeowner. This guide outlines key steps for connecting a grid-tied solar system.
⚠️ Golden Rule: Prioritize Safety & Compliance!
Electricity is Dangerous: Solar panels and DC wiring carry lethal high voltages. Always hire a licensed, insured solar installer or electrician for all electrical work, including connections to your main panel and the grid.
Permits & Codes Are Mandatory: Solar installations require permits and must comply with local building codes, electrical codes (like NEC in the US), and utility rules. Your installer manages this.
Phase 1: Planning & Preparation (Laying the Foundation)
-
Assess Your Energy Needs: First, determine your consumption by checking past electricity bills. Use online calculators or consult a professional for accurate system sizing.
-
Conduct a Site Survey: Next, have a professional evaluate your roof (structure, material, angle, shading) or ground space. Ideally, south-facing sites (Northern Hemisphere) with minimal shade work best.
-
Design the System: Based on the survey, your installer designs the layout, calculates panel numbers, selects compatible components (inverter, racking), and plans string configurations (series vs. parallel).
-
Secure Permits: Subsequently, the installer submits plans and obtains necessary permits from your local building department and utility.
-
Acquire Equipment: Finally, purchase the approved panels, inverter(s), racking, wiring, conduit, disconnects, and monitoring gear.
Phase 2: Physical Installation (Mounting & Wiring)
Installing the Racking System
-
Securely attach mounting feet/flashes to your roof rafters (or ground anchors), ensuring a watertight seal on roofs.
-
Then, fasten rails onto the mounting feet to create the panel framework.
Mounting the Solar Panels
-
Carefully lift panels onto the rails.
-
Firmly secure each panel using end clamps and mid clamps, following manufacturer spacing guidelines.
Running Conduit & Wiring
-
Run conduit (metal/PVC tubing) from the array to the inverter location (near your main panel) to protect wires.
-
Stringing Panels: Connect panels together in series (boosting voltage) or parallel (boosting current) to form “strings,” using MC4 connectors as specified.
-
Pulling Wires: Feed positive and negative DC wires from the solar panels inside the conduit.
-
Grounding: Critically, properly ground the entire system (panels, racking, metal conduit) to a grounding electrode using bare copper wire for safety against lightning and faults.
Installing the Inverter
-
Mount the inverter on a wall (indoor/outdoor rated) near your main panel, following clearance rules.
-
Carefully connect the DC wiring from the array to the inverter’s DC input terminals, observing correct polarity.
-
Install Disconnects: Place required AC and DC disconnect switches for safe system shutdown during maintenance.
-
Professional AC Connection:****Essential Step: A licensed electrician must connect the inverter’s AC output wiring to a dedicated breaker in your main panel.
Phase 3: Connection, Inspection & Power Up!
Final Connections & Inspections
-
The electrician completes all final terminations inside the main panel, ensuring code compliance.
-
Install the utility disconnect (if required) for system isolation.
-
Local Inspection: First, your building department inspects the physical and electrical installation.
-
Utility Inspection & Meter: Next, your utility inspects and installs a net meter to track energy consumed and exported.
Commissioning & Activation
-
Permission to Operate (PTO): Only after passing both inspections does the utility grant PTO.
-
System Start-Up: Finally, the installer activates the system, tests safety features (like rapid shutdown), and ensures inverter communication.
-
Monitoring Setup: Configure the monitoring app/web portal to track your system’s performance.
Off-Grid Systems: Added Complexity
-
Battery Bank: Requires secure, ventilated, temperature-controlled location and meticulous wiring.
-
Charge Controller: Place this between panels and batteries to regulate charging and prevent damage (correct sizing is vital).
-
Inverter/Charger: Often combines inversion with generator backup charging.
-
Critical Loads Panel: Typically, install a separate subpanel for essential circuits powered by batteries during outages.
Understanding Key Wiring Concepts
-
Series Connection: Link panels (+) to (-). Result: Voltage adds, current stays the same. (Common for string inverters).
-
Parallel Connection: Link panels (+) to (+) and (-) to (-). Result: Current adds, voltage stays the same. (Used with microinverters/DC optimizers or in combiner boxes).
-
Combiner Box: (Large string systems) Combines multiple strings in parallel before the inverter. Includes protective fuses/breakers per string.
Conclusion: Safety Powers Success
Connecting solar panels involves careful planning, safe mechanical work, and absolutely essential professional electrical expertise. While you can grasp the process and assist with non-electrical prep, never attempt electrical connections yourself. Partnering with a qualified installer guarantees a safe, efficient, code-compliant system. This ensures eligibility for incentives and delivers decades of reliable clean energy. Enjoy harnessing the sun!


